

If you want to cut your playmats , because the table size changes in the 9th edition of Warhammer 40k , take 2 minutes and watch this little video we made for you.
Our solution is awesome! Simply :)
As a reminder, these new sizes are only minimum measurements.
They are optional but can still be played on a board of the size you are used to, such as our 4x6 models
The materials needed to modify your play mat:
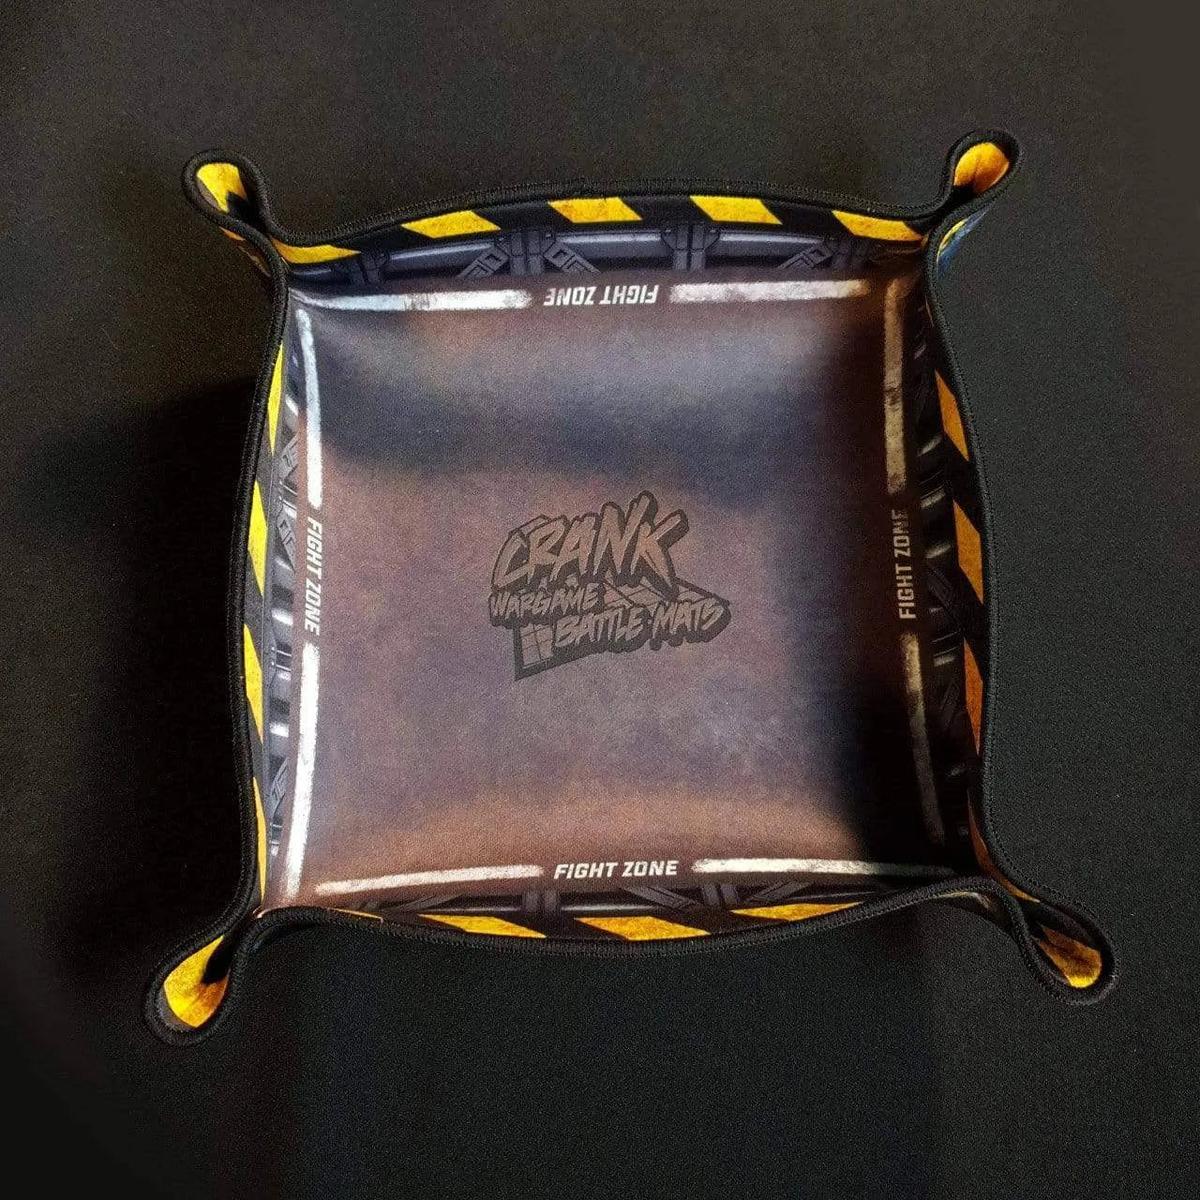
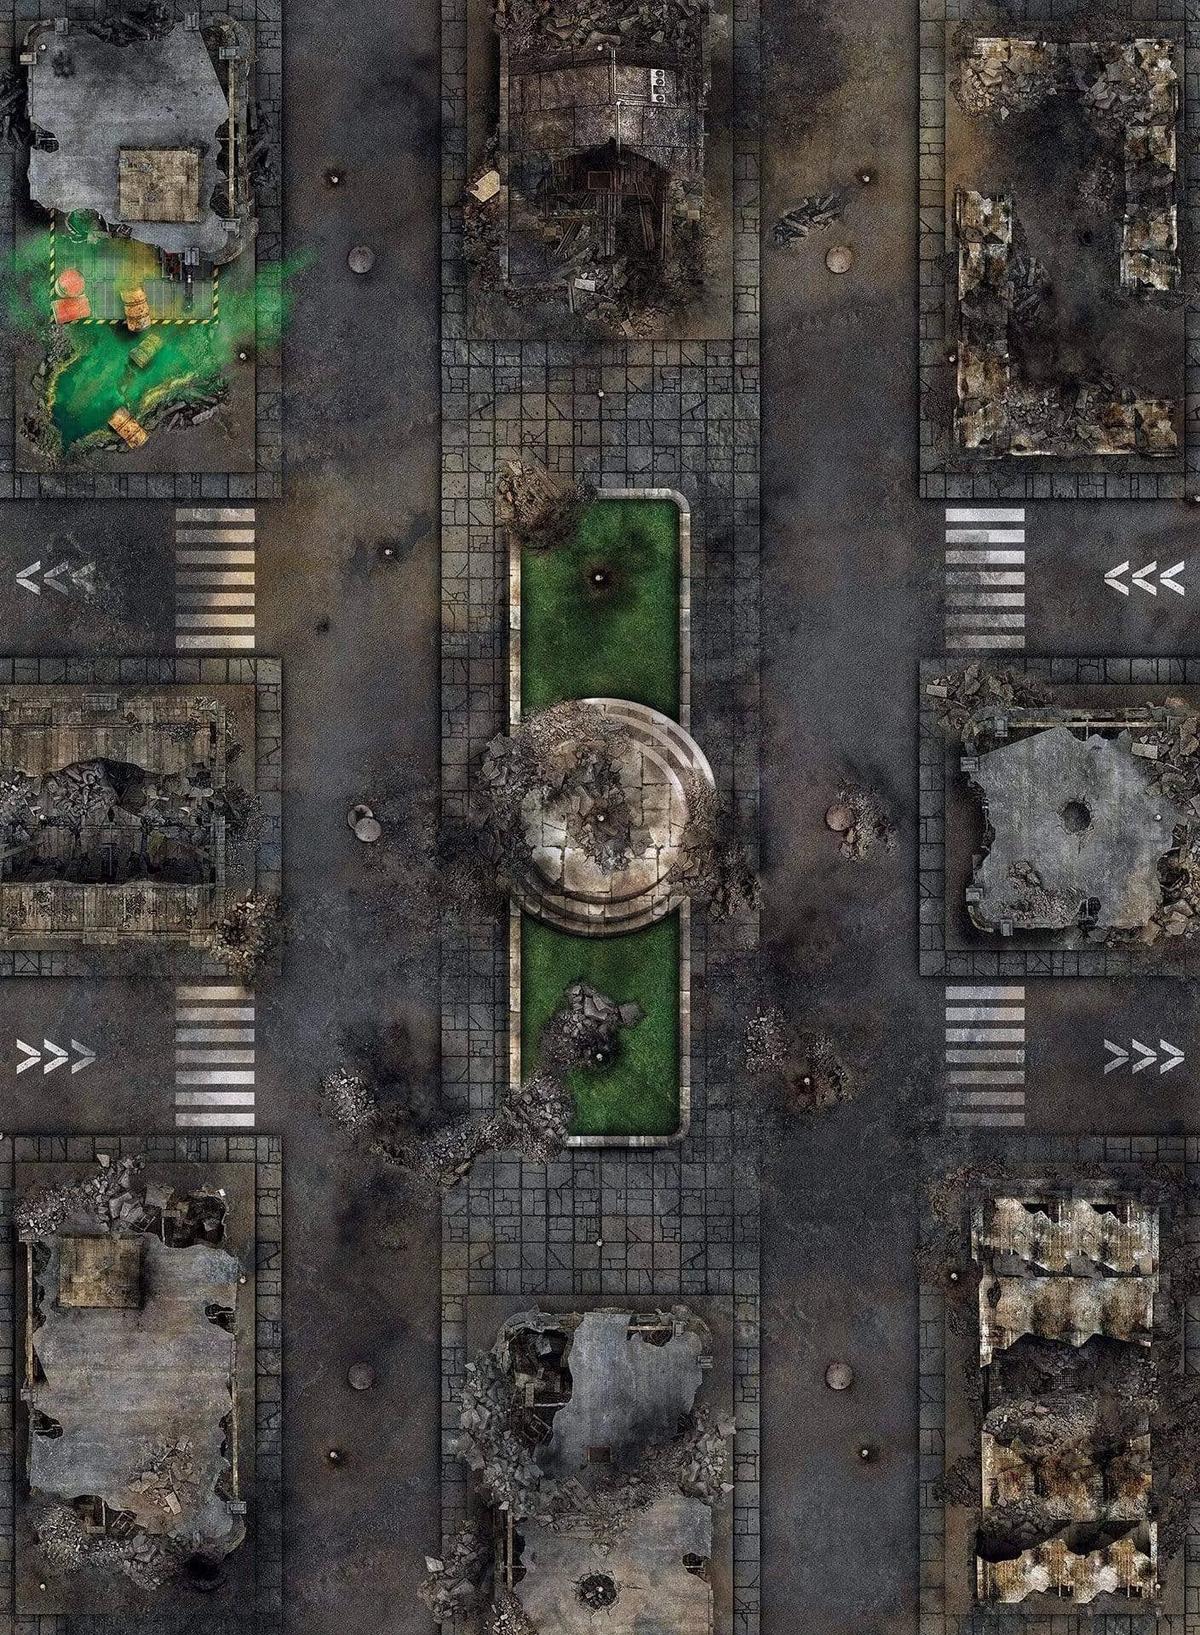
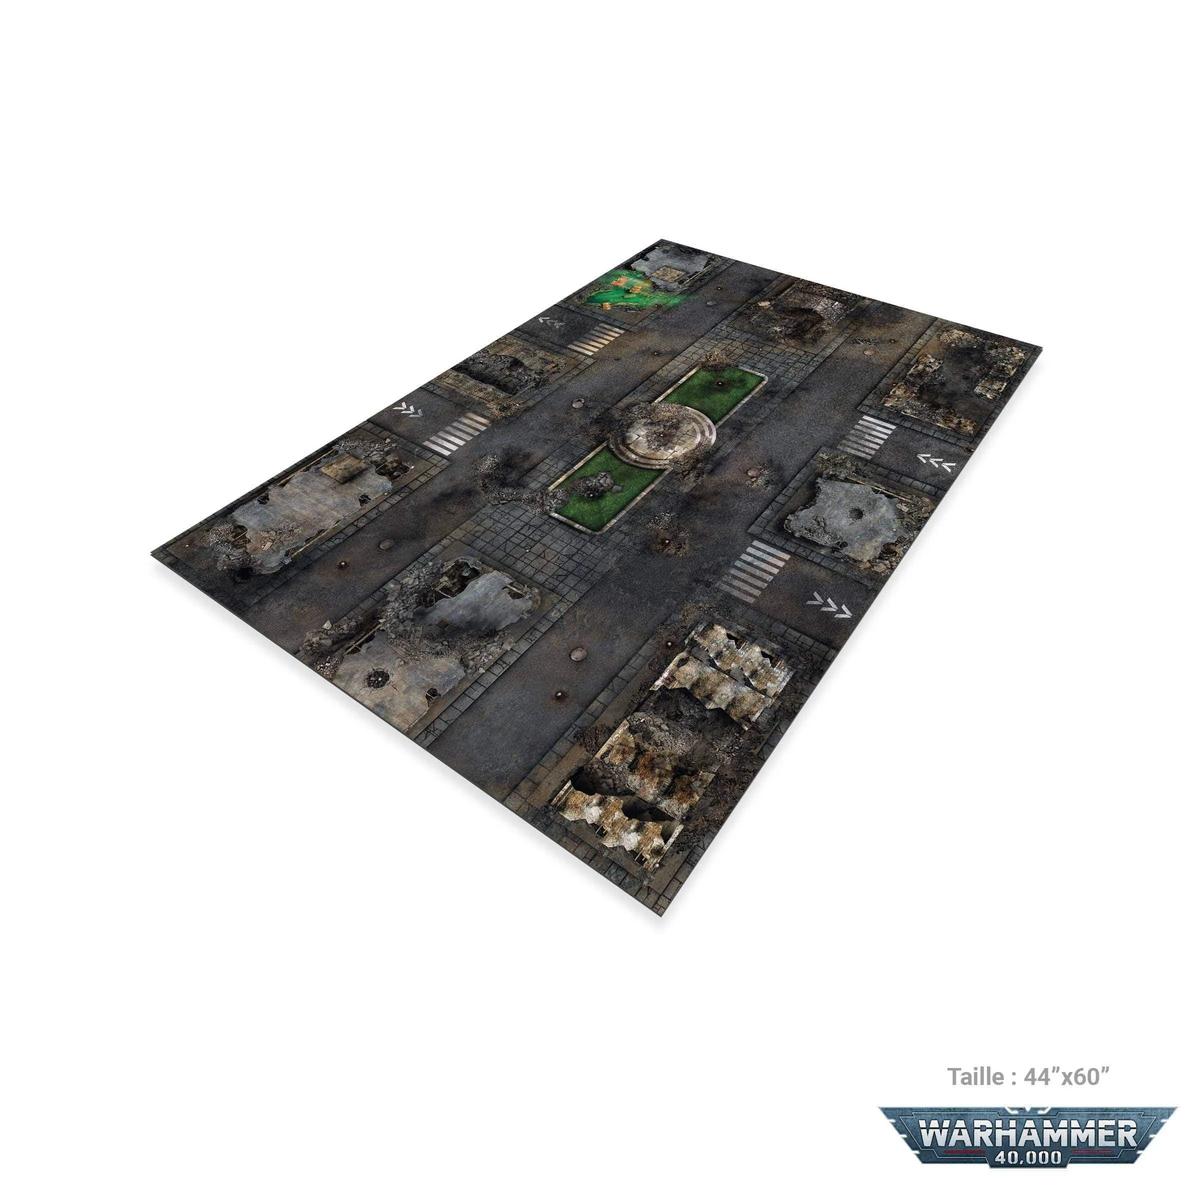
- A 48x48 mat from Crank Wargame
- A scalpel with a new blade
- An iron ruler if possible
- Extruded polystyrene
- Wood glue
- 3 acrylic paints
- Dark color (Contrast to the color of the carpet)
- Light color close to that of the carpet (Brushing no. 1)
- Very light color (Brushing No. 2)
*Optional:
- Pigments
- Matt Varnish or Fixer Spray
Step 1:
We take the measurements and trace the limits of the carpet with a marker.

Step 2:
We cut with a scalpel using an iron ruler, we make sure that the cut is made outside the carpet (not like in the video 😓)
Remember to clean the blade thoroughly every 30 cm of cutting.

Step 3:
In the scraps, we draw and cut out the shapes of our hills, then we transfer everything onto the polystyrene.
Here I took one 5cm high, it's way too big, I only had that. I recommend 2.5 or 3cm high, which gives us 1 inch and our units can move there.


Don't make the mistake of gluing the mousepad at this stage, in fact you should only glue it at the end!

Step 4:
First base coat, here I took a DARK color contrasting with that of the carpet.

Step 5:
First dry brushing like a brute with a color close to that of the game mat. It helps us make the connection with our mat.

Step 6:
Now we move on to the lights, with a vertical brushing always from top to bottom. This represents the light that "falls" on the edges of the hill.

Optional Step 7:
The little extra to "bind" all the colors: brush everything with two different, "natural" pigments. Here, ochre and earth (3 euros at Cultura).

Optional Step 8:
- Finally, fix everything with a spray of matte varnish or a fixative.
- Do it outside, I almost died!
- It may happen that as the varnish dries it will attack the parts of the polystyrene that are less well covered with paint, and that this will eat away at our hill. Don't panic, just go over it again with paint or pigments.

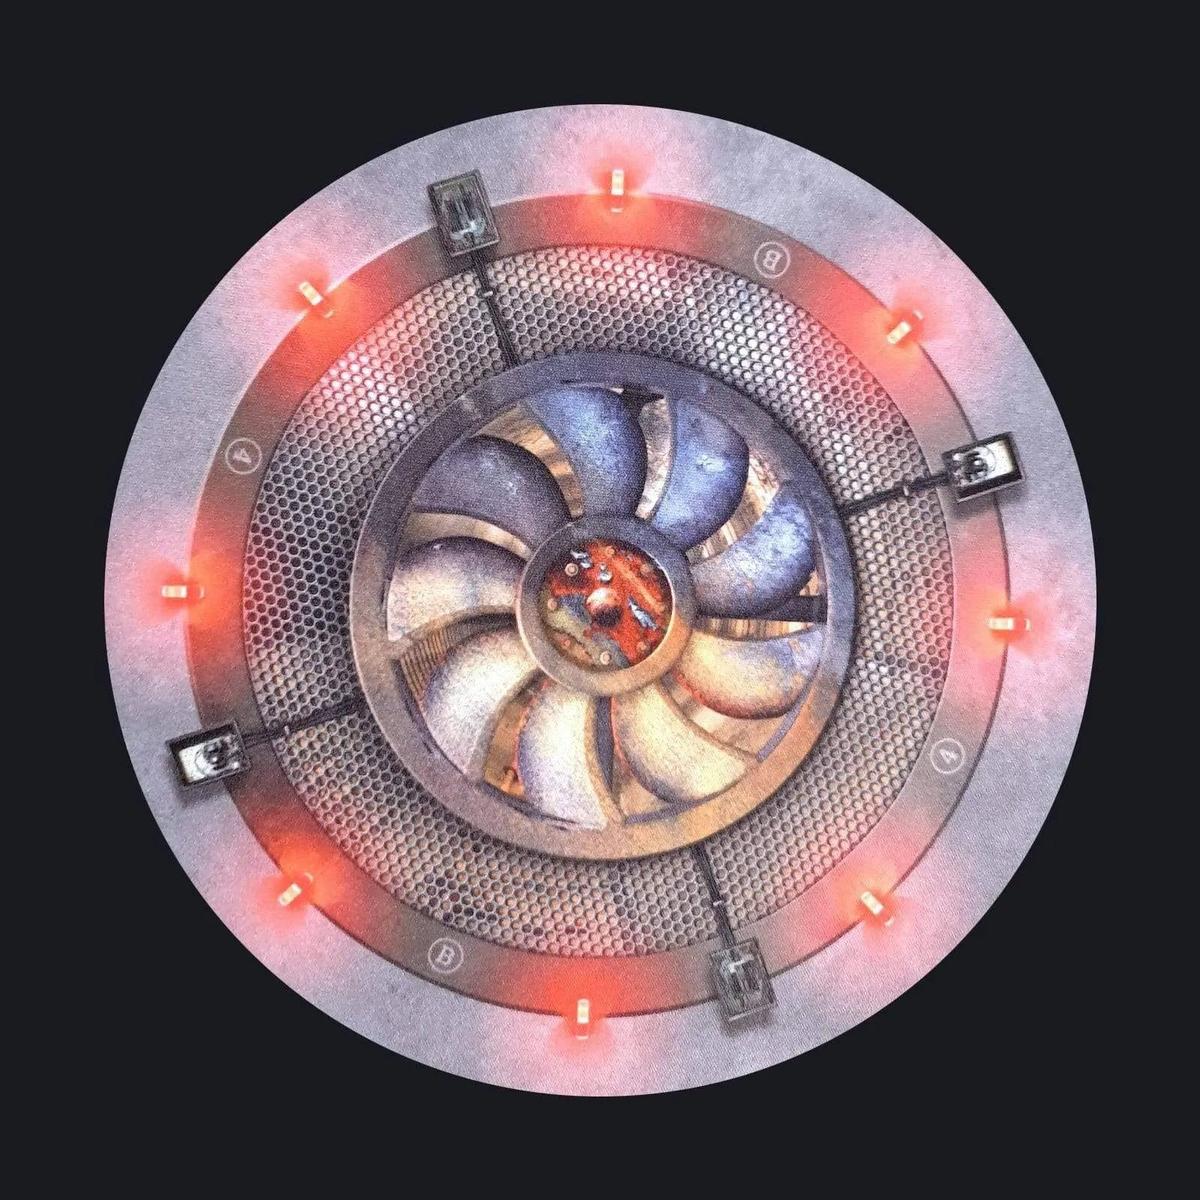
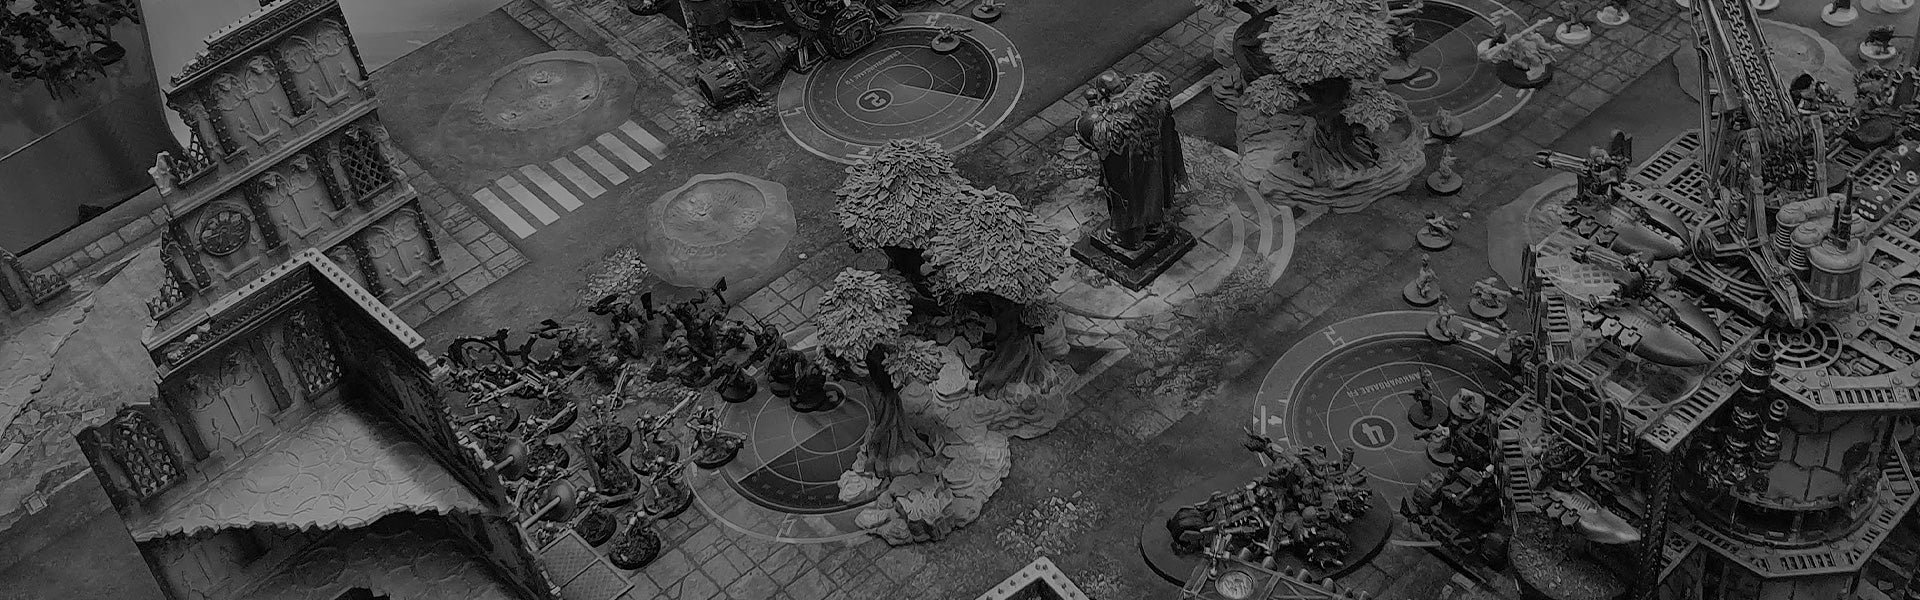
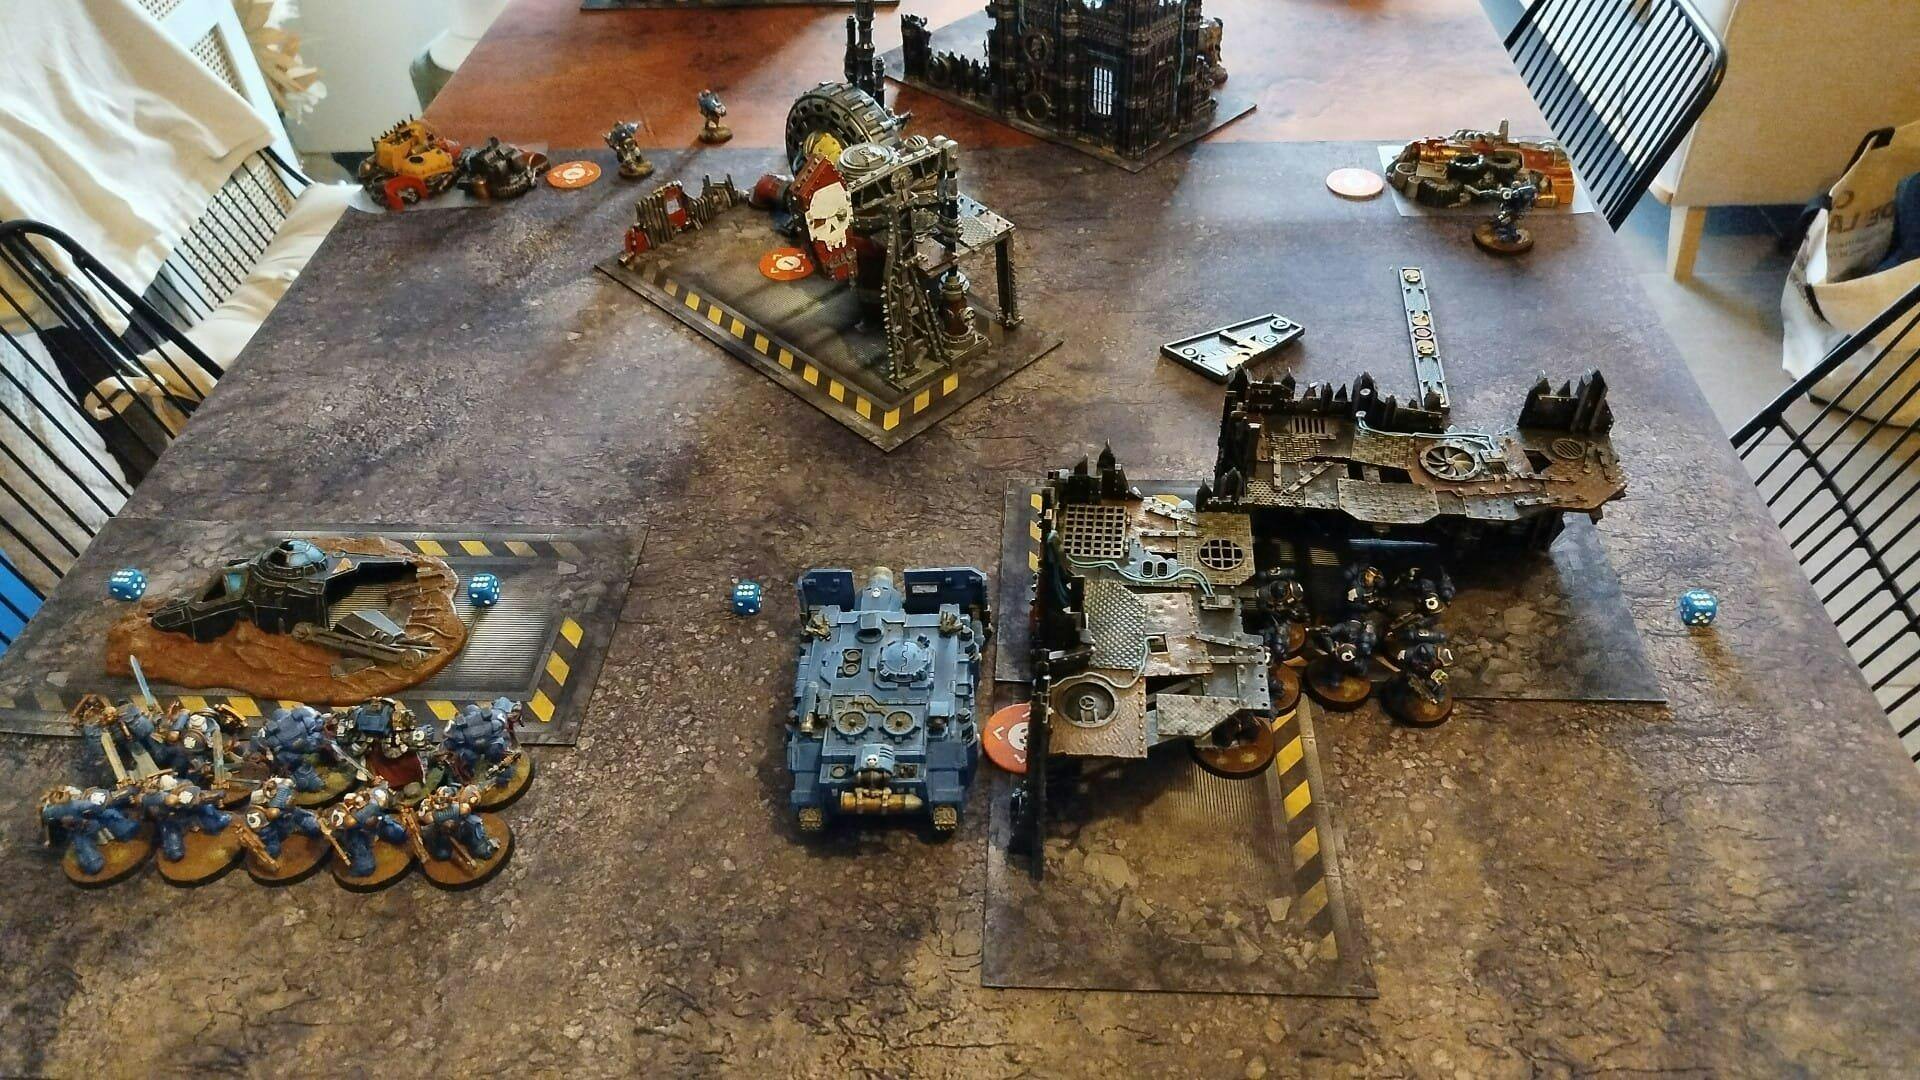
And here is a cheap and easy WH40K V9 battle zone:


Now it's your turn! Feel free to share this article and send us your photos (with our rugs hehe 😎)
see you soon
Chris